The government is now operating in accordance with the Guidance on Caretaker Conventions, pending the outcome of the 2025 federal election.
For an organisation to do business through the portal they will need an organisation Client Account. Currently only Australian businesses can register for a Client Account.
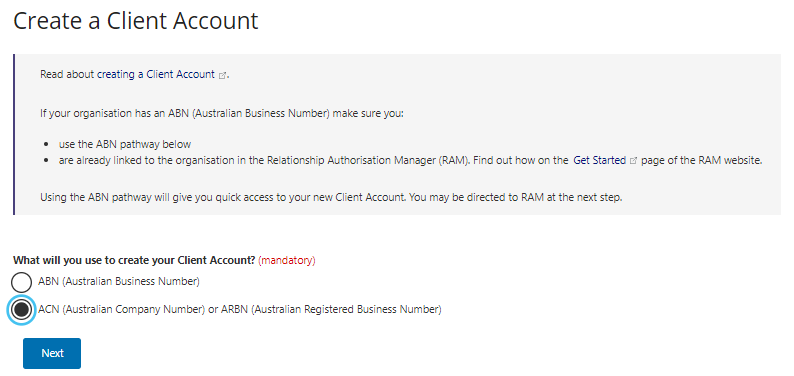
There are two ways you can create an organisation Client Account:
- Using an Australian Business Number (ABN)
- Using an Australian Company Number (ACN) or Australian Registered Body Number (ARBN)
If the organisation you are creating a Client Account for has and ABN, you must use it the ABN option.
Using an Australian Business Number (ABN)
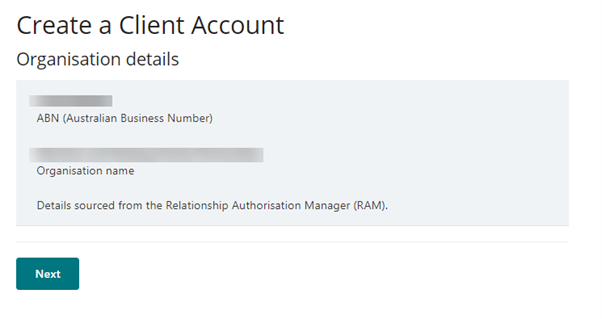
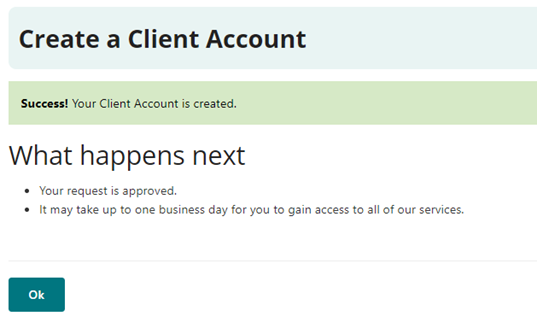
If you use an ABN to create an organisation Client Account, you will be able to use the account immediately after setting it up.
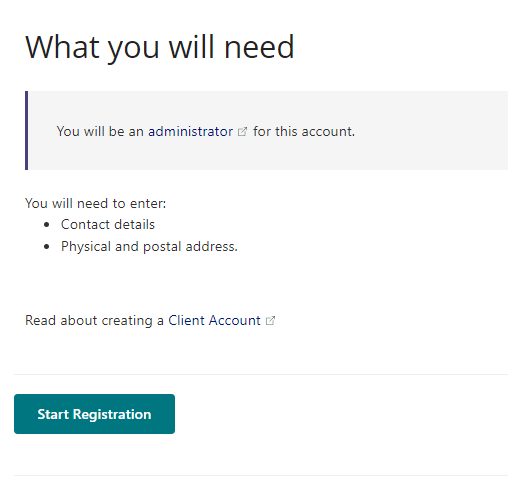
To create the organisation Client Account, you will need:
- to be an existing portal user. If not, you will need to create a user profile
- a myID - external site Digital Identity with at least Standard identity strength
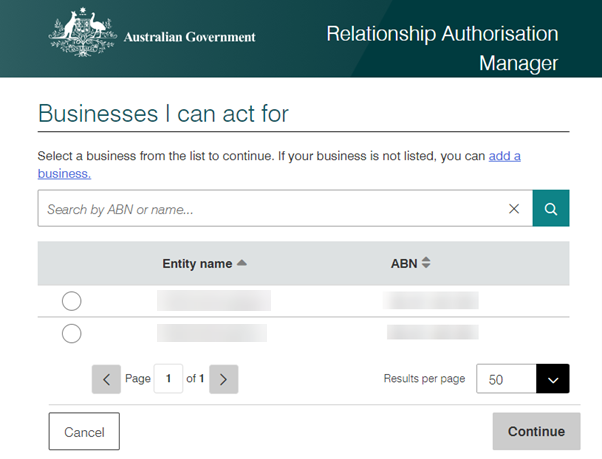
- an established association between yourself and the organisation in the Australian Taxation Office (ATO) Relationship Authorisation Manager - external site (RAM). If you don’t have this association, someone who does will need to set up the Client Account. Once they have created the Client Account, they can then add you as a Client Account administrator.
Using an Australian Company Number (ACN) or Australian Registered Body Number (ARBN)
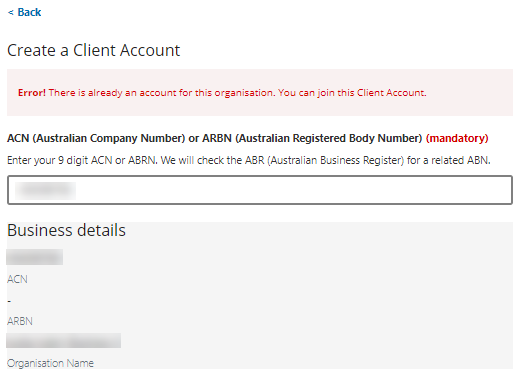
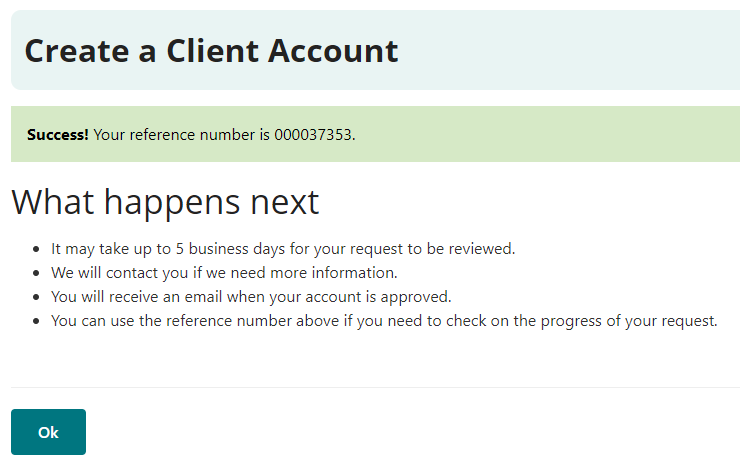
If you use an ACN or ARBN to create an organisation Client Account, it will require approval before you can start using the account. The approval process can take up to 5 business days.
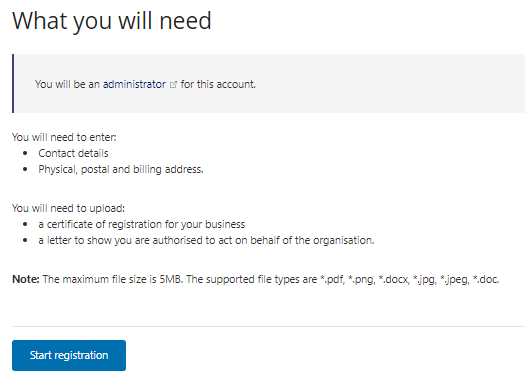
To create the organisation Client Account you will need:
- to be an existing portal user. If not, you will need to create a user profile
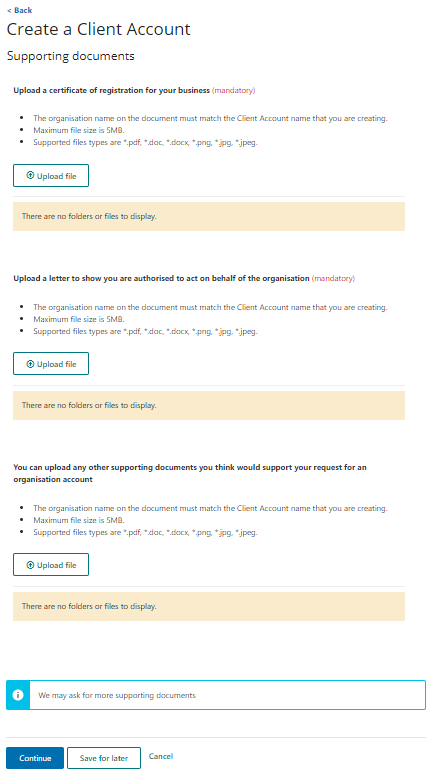
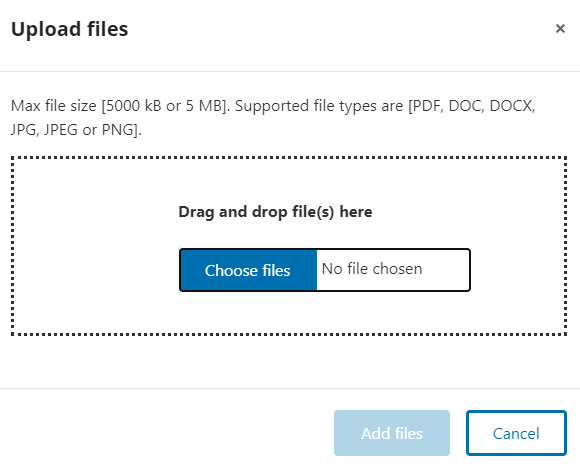
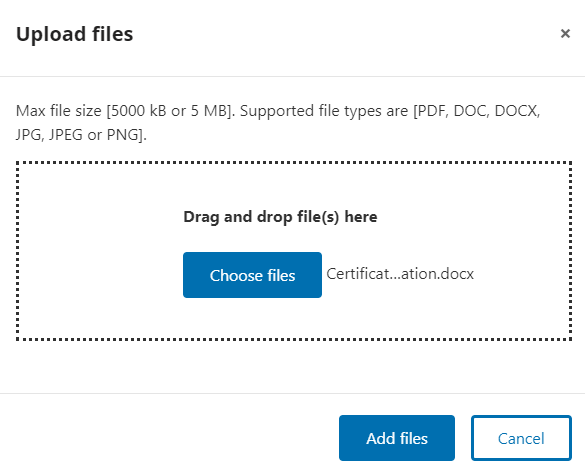
- business registration documentation
- a letter authorising you to set up the Client Account on the organisation’s behalf.
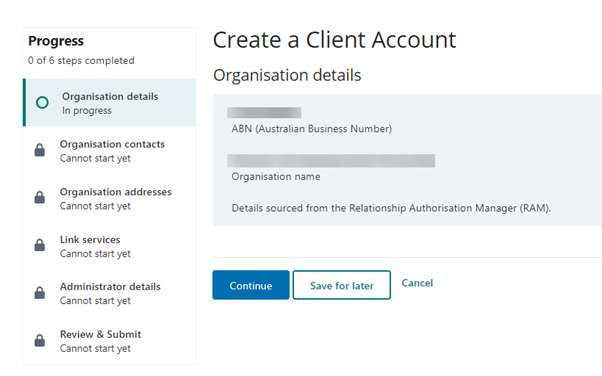
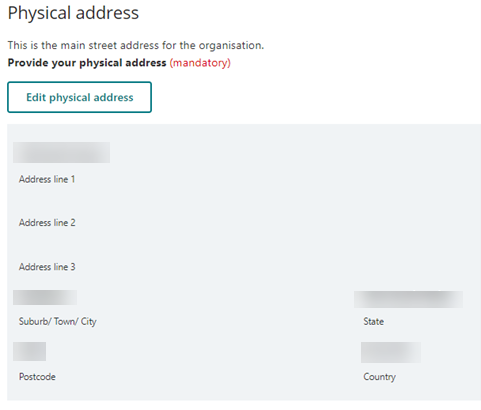
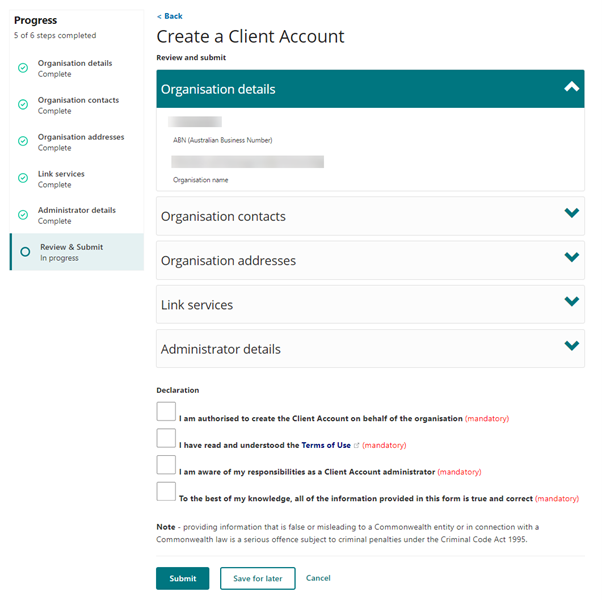
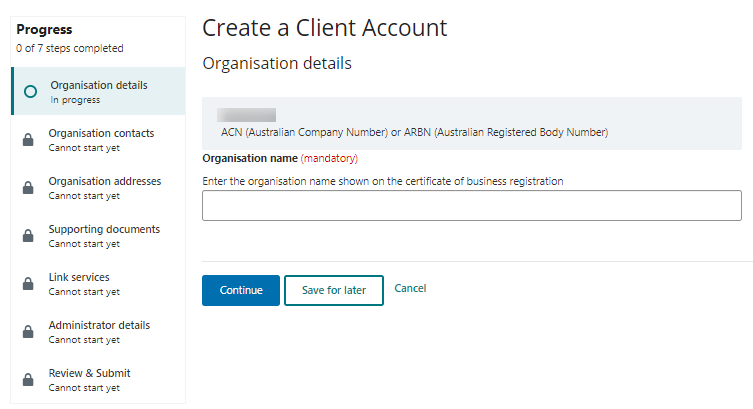
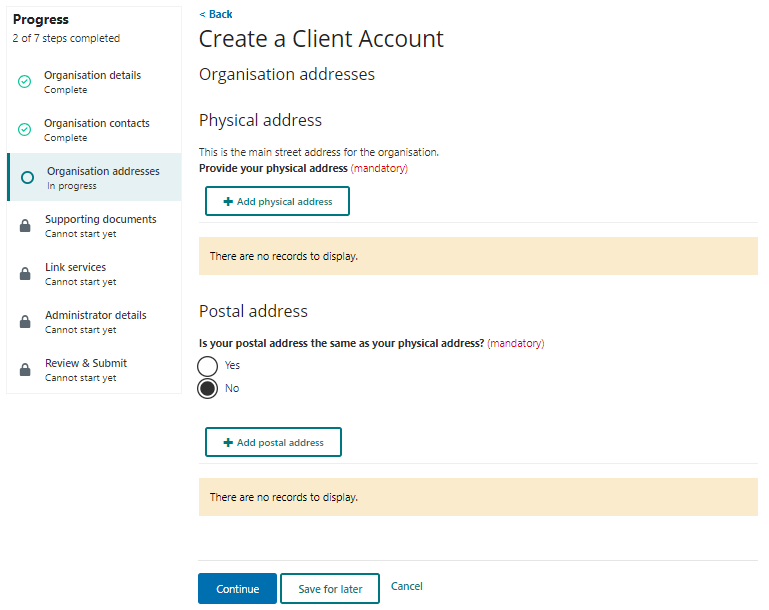
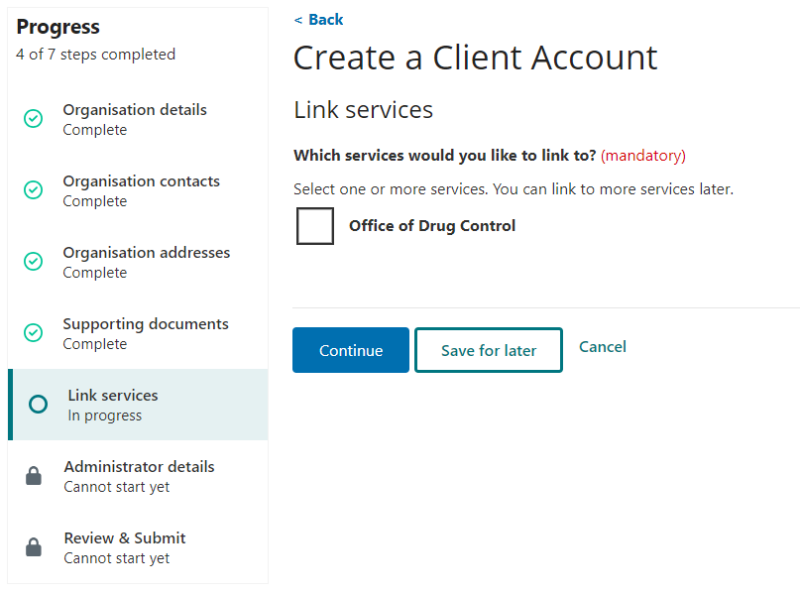
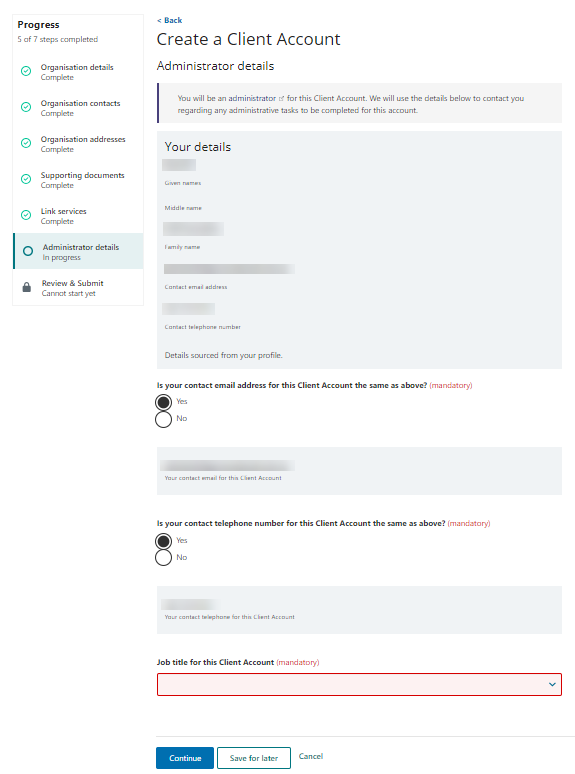
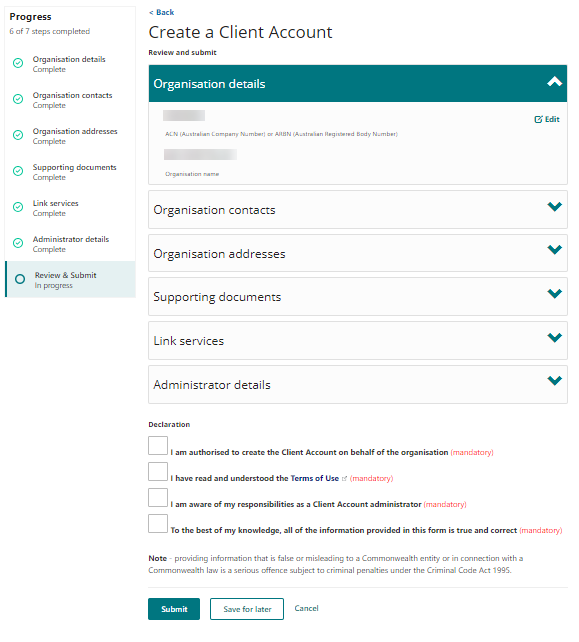
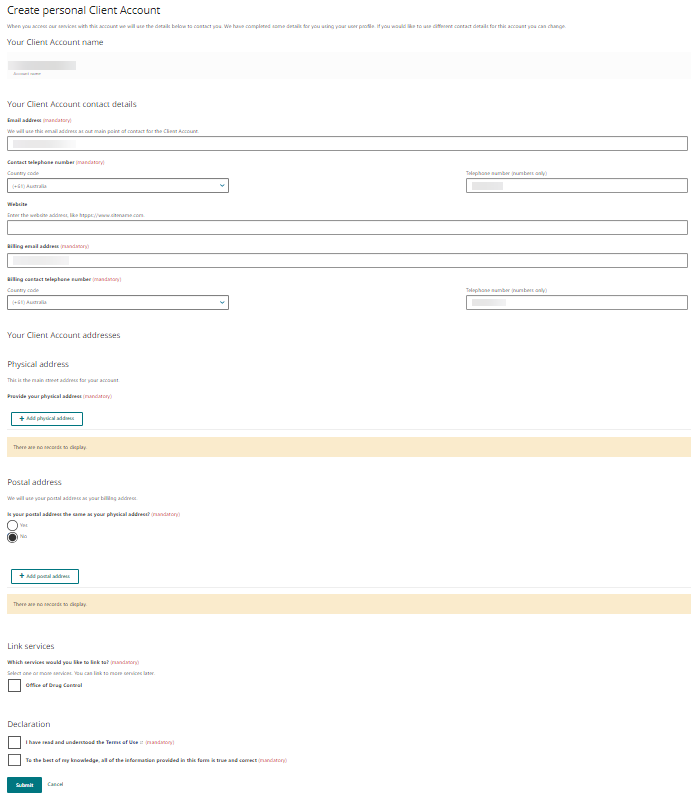
How to create an organisation Client Account
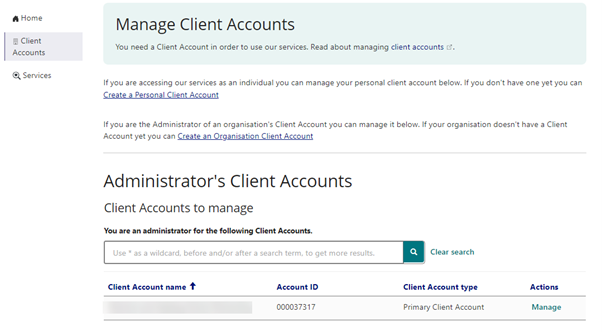
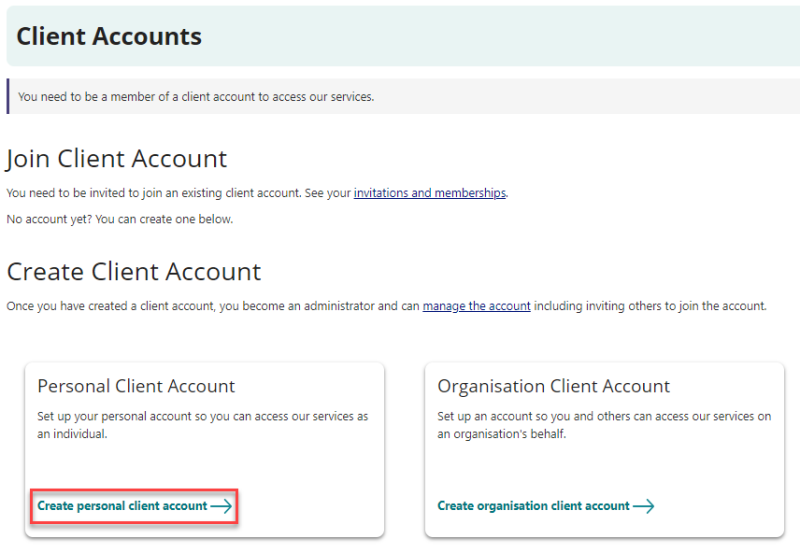
- Log in and go to the portal home page. Click on Go to Client Accounts on the 'Client Accounts' tile.

- The 'Client Accounts' page will open. To create a new organisation Client Account click on Create organisation Client Account in the 'Organisation Client Account' tile.

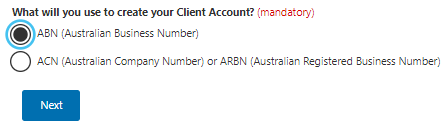
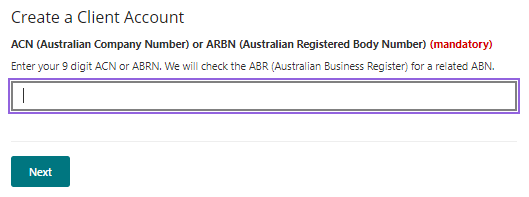
- The 'Create a Client Account' page will open. You need to choose from the two options provided – ABN or ACN/ARBN. If the organisation you are creating a Client Account for has and ABN, you must select the ABN option.